Relief printing techniques parts 1 to 7, then 8 to 15, is a complete guide to printmaking explaining the process in details and helping you choose your material.
1: General introduction & books about the relief printing techniques
You’ll find below a description of all the steps needed to create woodcuts, linocuts, and other prints made with printing relief techniques.
If you want to know more about their history from 500 BC to today, go here instead.
Otherwise, here are the details of the different parts of this article: on this page, you’ll find:
- General introduction & books about relief printing techniques
- Definition of relief printing
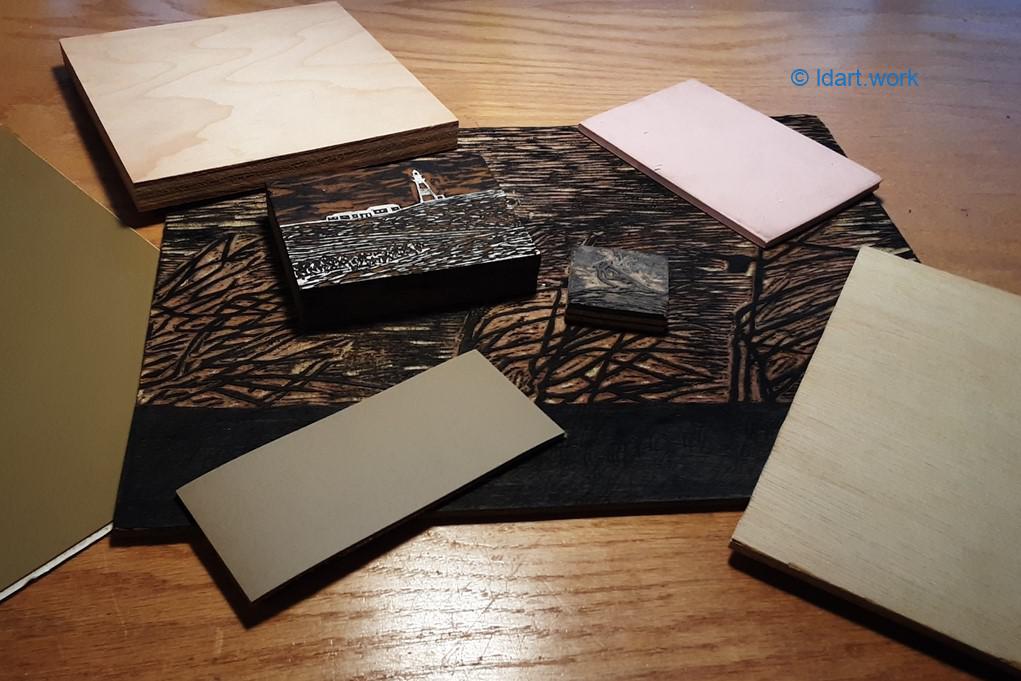
- Choosing your blocks
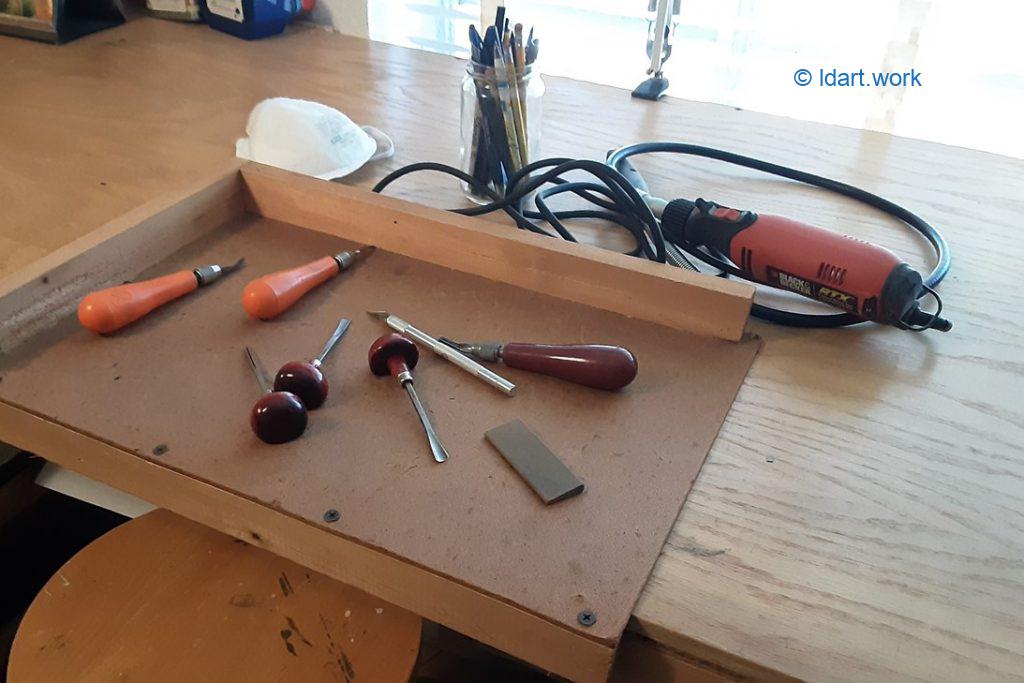
- Choosing your tools
- Choosing your ink
- Choosing your paper
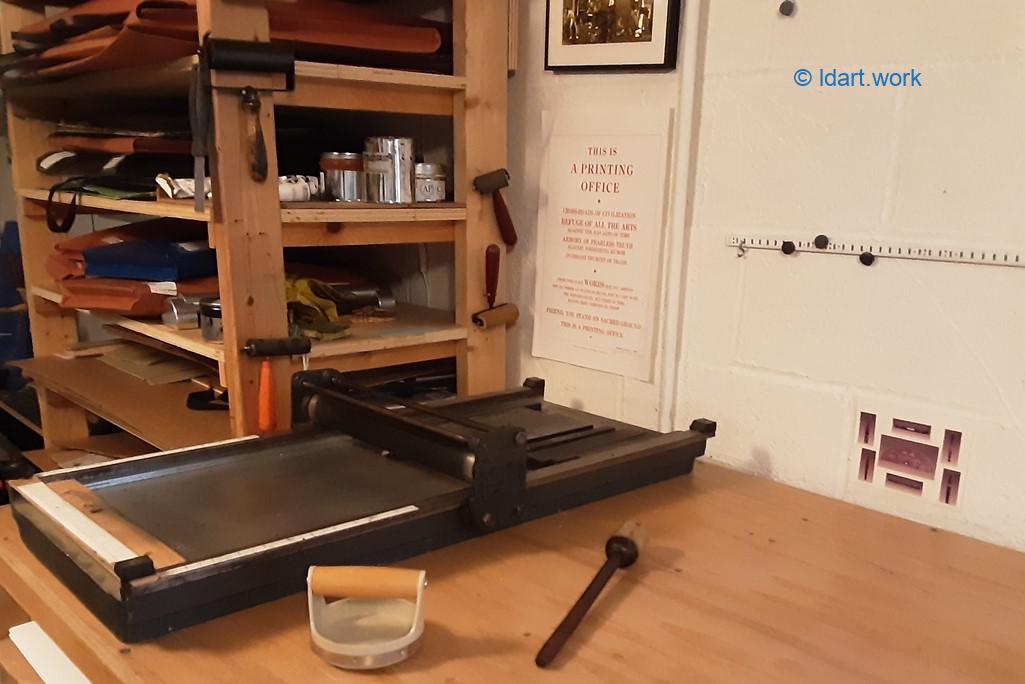
- Choosing your press
- Sharpening your tools
- Preparing your block
- Cutting your block
- Printing your image in one color
- Printing your image in different colors
- Drying your image
- Numbering your edition
- Links & Resources
2: Definition of relief printing
It is called relief printing because you have to cut the wood or linoleum around the drawing in order for the image to appear in relief.
This relief is then inked and used to make the basis of the final image, like in letter printing or stamping.
In other words, you save your drawing, and get rid of the extra material around it. That’s why it is also called “taille-d’épargne” from the French “‘épargner” (saving) and “taille” (cut).
The opposite technique is called intaglio or recess process; it uses metal blocks engraved by acids (they are etchings, mezzotints, aquatint) or cold chisels (they are dry point, engraving); it allows for finer lines and shades of grey contrary to relief printing that can only have lines with uniform color.
3: Relief printing techniques: choosing your blocks

As you have to remove a lot of material from your block, relief printing techniques can only be used with “soft” materials like wood or linoleum, sometimes gerflex or PVC.
These materials have different degrees of softness, and it will impact your cutting and the appearance of your final image.
For example, if you are planning a very detailed picture with many fine lines, use some wood from a fruit tree; they are the hardest. Or use the end grain of a block and create a wood engraving (see below). In both cases, allow plenty of time to do the cutting.
On the contrary, if you want strong and simple lines, use some kind of plywood or linoleum. The cutting will be rougher but quicker; you’ll have less control about it, but it will give more expression to your final image.
As a rule,
- A woodcut let see the natural grain of the wood once printed; it is something you can play with when deciding how to draw your picture.
- A linocut has less texture because of the homogenous nature of the linoleum; it gives more contrast between the blacks and the whites.
- A wood engraving uses the end grain of a block of wood: it’s a very hard surface so the cutting is more difficult. Yet you’ll have finer lines than with woodblocks or linoleum blocks; you’ll also be able to print more copies of your image before the pressure of the press destroys your block.
Gerflex or PVC are softer materials and easier to work with; you won’t be able to get detailed images, though, and your block will quickly become unprintable.
You most likely won’t have the ability to use different blocks for different colors as the registration of your blocks will be difficult (see “printing in color”, section 2)
4: Relief printing techniques: choosing your tools

In addition to a block, you’ll need:
- ink (see further).
- paper (see further).
- a press or a wooden spoon (see further).
- a sharpening stone and some oil (see further).
- sandpaper or a sander.
- gouges or scissors to cut around your image.
- a spatula to work the ink.
- a plate and a roller to spread this ink.
- rags and wet sponge or remover to erase stains.
- a sink to clean your material afterward.
- gloves to prevent dirty hands.
- a place to dry your prints.
If you want to print with many colors, you’ll need as many plates and rollers as you’ll have different colors.
Some gouges are in V to cut the fine lines, others in U to cut the largest pieces of wood. Some are like a knife to cut precise angles or to define the outline of your image. For that purpose, you can also use a cutter knife.
There are several qualities of gouges: it is the regularity with which you want to use them and the size of your blocks which will allow you to choose them. The more expensive ones will also be sturdier and better drawn ergonomically. All will do the job for you.
To remove large areas of wood or lino quickly, you can also use electric wood chisels or a Dremel. It is by using them that you will see how best to handle these instruments and what special effects you can achieve with them.
Like gouges, rollers or brayers have different qualities. The smaller and lighter ones are less effective than large ones in spreading the ink evenly, but they are a good alternative to start.
The plate can be a rectangle of glass, of metal, of anything flat and smooth that you can wash and reuse. I use different pieces of smooth chipboards.
As for the spatula, a flat mason spatula will do the trick.
5: Relief printing techniques: choosing your ink
There are two types of inks, water-based inks and oil-based inks.
Water-based inks are easy to use because you can clean your equipment with water. They dry faster than oil inks; for those of good quality, they give a result comparable to oil-based inks.
Their disadvantage is that it is difficult to superimpose inks of different colors to create shades, and if you plan to rework your prints with watercolor, the watercolor may mix with the ink.
However, these are two minor disadvantages that can be solved by working quickly in either case.
Oil-based inks give bright colors once dry; their disadvantage is that everything you used will have to be cleaned with turpentine oil or a similar solvent; your hands will certainly be stained for a while even if you put gloves before starting. That’s why I do not use them anymore.
I use cheap water-based inks to make test runs. When I’m sure my image is what I want, I use a better-quality ink for the final prints.
6: Relief printing techniques: choosing your paper
You can use nearly any paper to print your image. Its particular texture will impact the final effect.
Papers traditionally used in the West are Arches, Lana, Vellum or heavy 250mg papers. They give an end result pleasing to the eye. If you want to rework your print with watercolor, these papers will not curl.
Papers from Japan or China, much finer, are often used to play on transparencies.
I use Stonehenge printmaking paper. 25 sheets last me a year or two depending on what I create, and I like their texture close to Arches papers. (I used to live near Arches, the town in France where they still produce this paper, and it was possible to get them on a bargain at the time!).
7: Relief printing techniques: choosing your press

The choice of your press will mainly depend on the size of the prints you plan to make, whether you want to use many blocks or just one, and your budget.
The back of a wooden spoon will be the simplest and most economical press if your blocks are small, and you only want to ink with one color. As it will be your arm that will put the pressure, this pressure will be different from one place to another and will give a particular effect to your final image.
There is also a specific instrument called baren that will perform the same function. Its handle facilitates its handling, yet I never really managed to use it properly!
In both cases, once your sheet of paper is on your block, you will have to rub its back by pressing in all directions and in all places to transfer the ink, taking care not to let go of the paper.
To see how much ink is applied, you can regularly lift the corners of this sheet, have a peak and rub again if inking is too weak until you are satisfied with the result.
For larger size prints or if your budget and workspace permit it, you can print using a cylinder press of the type used in the past.
In this case, your block should be thick enough so that the roll can exert pressure on it, but not too thick (otherwise the roll will not be able to pass on it). The easiest way to reach a proper level is to add cardboard or wood under your block until you reach the desired height.
If you can, fix your block on the press using small pieces of wood and make sure your sheet of paper is centered on the block so that the print itself will be centered.
With a cylinder press, your print will be inked evenly because the pressure of the roll is the same everywhere. Most are sold with a system that allows you to pinch your sheet of paper and this will be very useful if you want to make prints with different colors (see page 2, printing with different colors).
You can also use an intaglio press or a screw press, but as with the wooden spoon or the baren, it will be difficult to make prints with several colors, unless you find a technique to fix your sheet of paper so that it does not move when you change your engraved blocks (see page 2, printing with different colors).
On Facebook, Jeff Dean told me he uses an antique book press: “I built a jig for a block to slide into, with a corner and side guide cut into it for the paper”, he wrote. “I then use a piece of thin craft foam as a blanket to even the pressure. I’m able to make reduction prints this way.” (see further for more details about reduction prints).
It seems a good trick if you have that kind of press and it also points to the fact that after a while, every printmaker has his or her own way of doing things, often with home-made tools.
next parts on the next page —> Parts 8 to 15