Relief printing techniques, a complete guide, parts 8 to 5, tells you how to cut woodblocks, print them in colors, then number them once you have your materials
On this page, you’ll find:
- Sharpening your tools
- Preparing your block
- Cutting your block
- Printing your image in one color
- Printing your image in different colors
- Drying your prints
- Numbering your edition
- Links and resources
On the previous page:
- General introduction and books about relief printing techniques
- Definition of relief printing
- Choosing your blocks
- Choosing your tools
- Choosing your ink
- Choosing your paper
- Choosing your press
8: Relief printing techniques: sharpening your tools
I don’t like to sharpen my gouges, yet it has to be done on a regular basis if you want to have clear and easy cuts.
You will need a sharpening stone and some oil. Put a little oil on your gouge and pass the stone up and down on your edge keeping always the same inclination, about 20-30 degrees.
Several passes will be needed to have a good edge, but the more regularly you do this, the easier it will be to get there quickly.
9: Relief printing techniques: preparing your block
The surface of your block must be smooth and even except if you want unplanned reliefs appearing when printing.
To achieve this result, sand it using different grades of sandpaper, beginning by the coarser one.
If you use linoleum, no sanding should be required as it has an even surface. However, if you lightly sand a linoleumblock, the ink will stick better on it later, so be my guest.
If your block is not already mounted on a piece of wood, mount it on some plywood to give it more rigidity: it will be much easier to cut later. Make sure the plywood is the same size as the linoleum block, otherwise you’ll have difficulty doing a clean printing.
Once your surface is smooth or your block mounted, draw your subject on it, remembering that the final image will be the mirror of what you draw.
It means that if you want your image to be the exact copy of what you see in reality, you’ll have to draw it using a mirror; or, if you are working from a photo or drawing, use tracing paper to first define the main line of your image, then transfer it to your block.
Once you are satisfied with your drawing, use ink or black markers to fix it on the block; if not, you could erase your lines when you start cutting.
10: Relief printing techniques: cutting your block
Once you image is drawn and fixed on your block, it is time to get rid of everything around it to make it appear in relief.
For that, use your gouges, your knives or cutter knifes and your electric tools if you have some.
I always start by cutting along the lines of my image using a cutter knife. If the cut is sharp and precise, then your printed lines will be clear and neat.
Once this is done, I use the U-shaped gouges or a Dremel to remove the material between these lines if the surface is large; for smaller areas or for a more thorough job, I use the V-shaped gouges.
That said, there is not really a unique way to proceed and in most cases, you will alternate with different cutters and different gouges to achieve your goal.
I built myself a kind of platform with two raised borders that make a corner (see image under the part “choosing your tools”). I put the block I want to cut in the corner, and I always push the gouge in the direction of the raised borders: if it rips on the block -it happens regularly, it hits these parts instead of my hand. It’s much more comforting that way!
11: Relief printing techniques: printing your image in one color
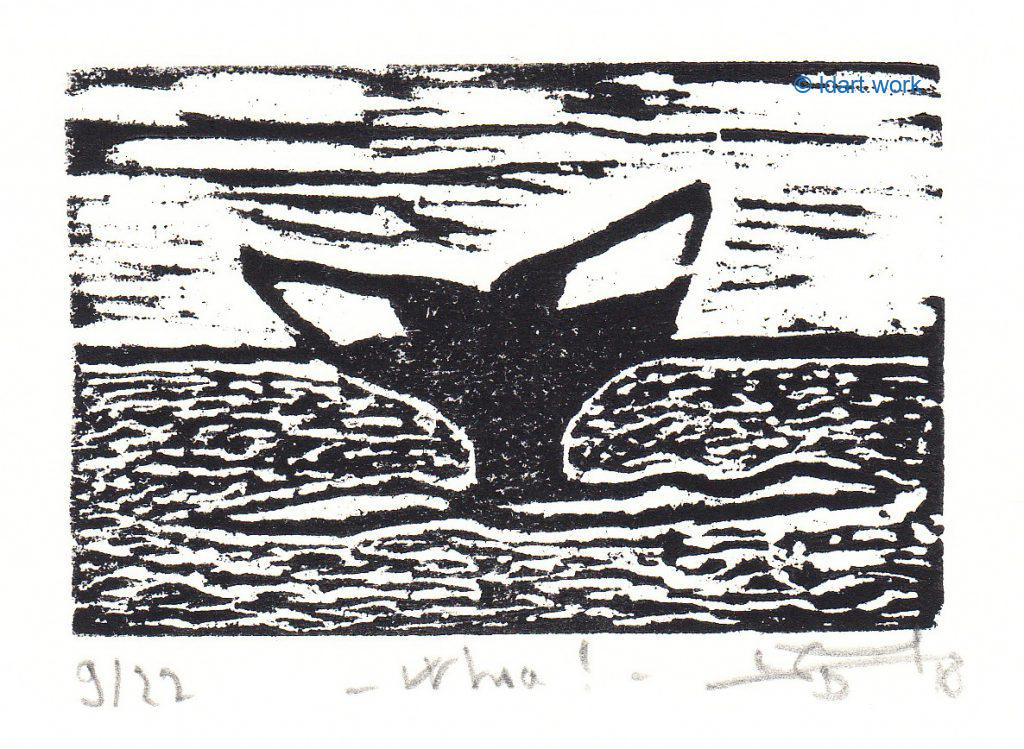
Put ink on the plate with your spatula, work it to make it fluid, and then spread it with your roller until it is distributed evenly on the plate – and on your roller.
Then roll your roller over the block several times in each direction to ink it uniformly, going back to your plate and ink if it’s necessary to get more ink.
Put a sheet of paper on your block, making sure it’s centered on your image (leave at least 1″ of margin on each side); press on its back using a press or a wooden spoon. Raise the corners of your paper regularly to see if the pressure has been sufficient; press again if this is not the case.
Remove your paper when you are satisfied with the inking.
Put your print to dry on a drying rack, or hang it on a thread using clothespins.
12: Relief printing techniques: printing your image in different colors
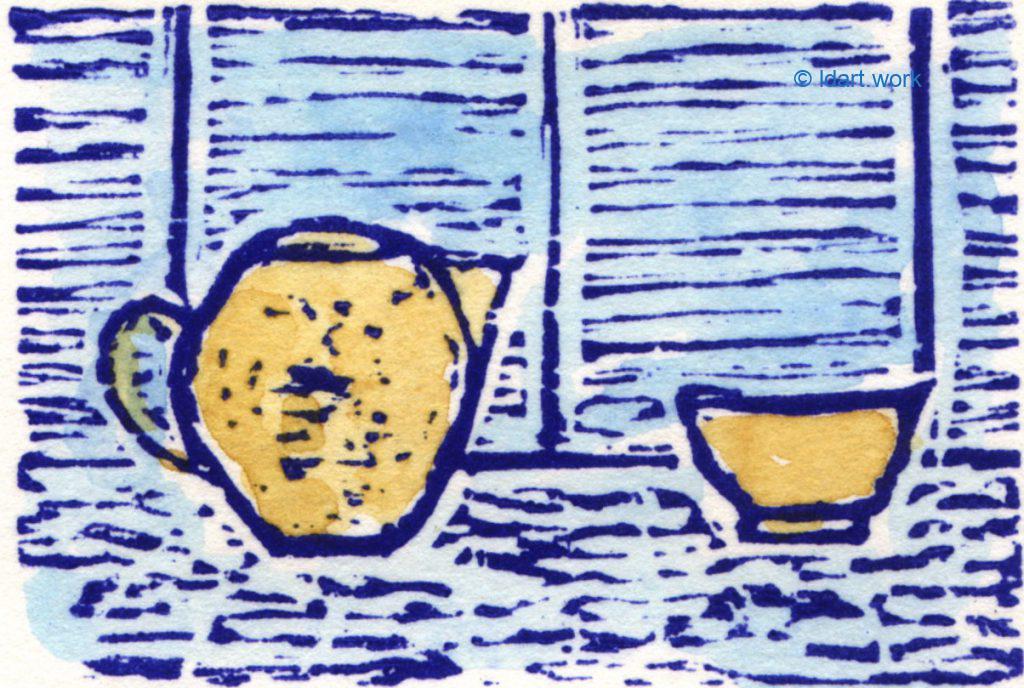
If you want to make a print in color, you can of course use watercolor, colored pencil or any other medium to rework your prints once they are dry; it’s the easiest way to achieve your goals.
Traditionally however, a print in color requires that you have engraved as many blocks as you have different colors, or that you have used a technique of reduction or the technique of the white line developed by the Provincetown printmakers from Massachusetts.
- Printing with several blocks
First cut your master block, the one with the shapes, the one that will usually be printed in black, then print the image on tracing paper.
Then put the tracing paper on a block of the same size as the one you just cut and transfer the image inked on its surface: you now have a block with the same image as that of the master block. Once the ink has dried, decide which part of this block will receive the second color and remove everything else. For a third color, start again with a third block, etc.
For the print below, I first cut my master block, the one with black lines. Then I inked it, transferred it on tracing paper, and transferred the image on 3 other blocks of the same size. To get the yellow part, I cut everything on this block that would not be yellow. Same for the red and blue parts.
When you want to print these blocks, you will first have to define exactly where they will go under the press and find a way to fix your paper so that you can lift it without moving it.
On a cylinder press, it is easy because pliers are provided but with another press or by hand, it is difficult to fix the blocks and the paper.
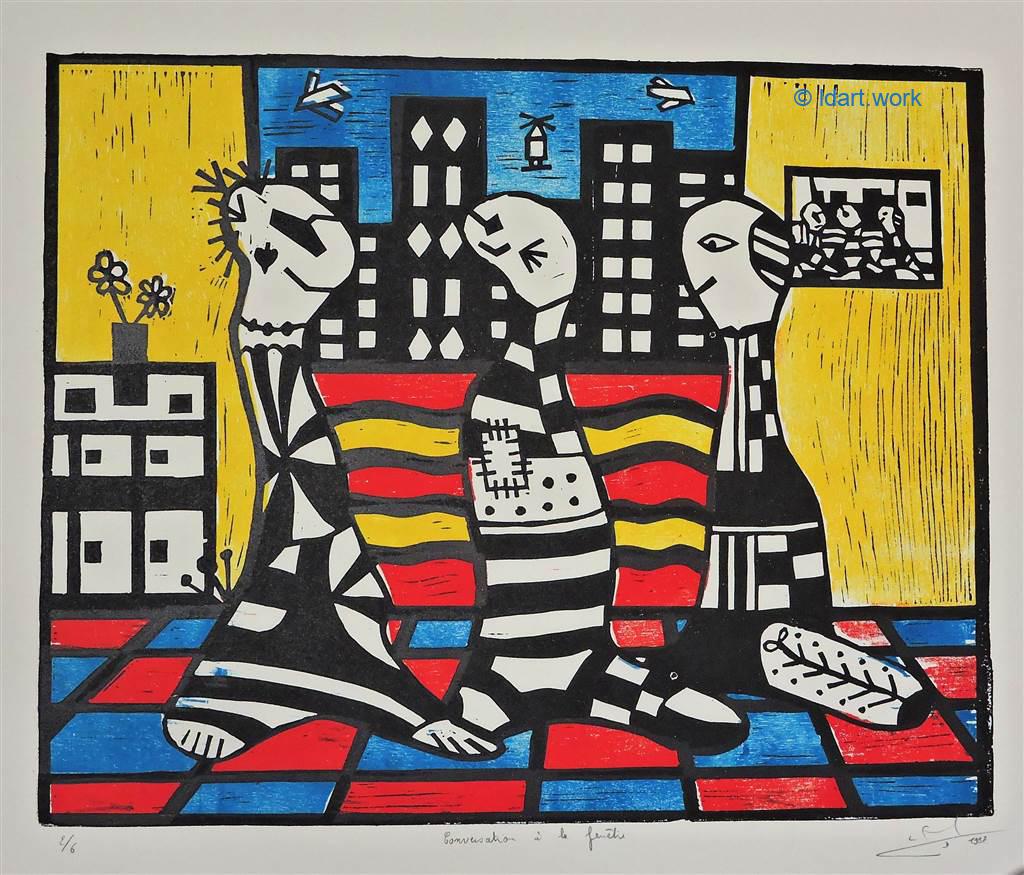
Once you know where the paper and the blocks are going, you can print the first color. In principle, you will start with the clearest so that the following cover it if your colors overlap in part. You end with the block with the starting image. On the print above, I did the yellow first, then the blue, then the red and finished by the black to cover everything.
To do that, ink your first block, print with your press; then lift the paper, put the second block in place of the first one; insert it, print it; keep going until your last block; remove the sheet of paper, put your picture to dry, repeat the same process for the second draw.
Since it’s quite long to go from one color to another and from one sheet to the next, it’s better to use oil-based ink that will not dry on your plates between uses.
- The reduction technique
It is sometimes called a suicidal technique because no error are possible, yet the result is superb because the colors are very rich and nuanced. Since I have never used this technique, my explanations will be very theoretical.
NB: engravers who read my comments told me that it was not so difficult, just think backwards and go from the lightest to the darkest. It is also a good idea to use markers to go over the drawing once it is done on the block otherwise the lines will disappear when the plate is washed (same tip for the next technique).
The idea is to use a single block and cut it gradually or, in other words, to reduce it. Each step is printed and superimposed on the previous step.
It is therefore necessary from the outset to print the complete edition – unlike the method with blocks – and to know that it is impossible to go back. It also involves deciding in advance how the colors will combine and playing with the mixes starting with the clearest shades. This will give the richness of tints to the final engraving.
The first cuts defines the whites and the base color; the next cuts makes the masses more complex by adding details with darker colors, and so on. If, in the first print, you have a yellow mass that represents a relief inked in yellow and printed, the second step, by cutting into this relief mass and then printing it with a different color, darker, will have lines which will be superimposed on the yellow color.
This is a very slow method because you have to wait for each color to dry before moving on to the next, and clean and dry the block before you cut it again. You must also be able to be sure that the sheets of paper and the blocks will always be aligned in the same way during the successive draws.
It is a good idea to print more copies at the start than the desired edition at the finish because there will probably be some errors along the way.
- White line technique
It is a technique that also uses a single block. It gives a very particular result because it mixes engraving and watercolor. It gets its name from the fact that each colored part is surrounded by white lines. They represent the cuts made with the gouge in the block to define these parts, and to be able to ink them without overflowing on others.
Each relief is inked with watercolor, using a brush. As the watercolor dries quickly, it is necessary to proceed in successive stages for each color and / or to color only small surfaces each time.
It’s also a very slow technique because you have to wait for each part to dry on the paper before proceeding, then, when the first copy is finished, clean the block and repeat the same process for the next copy.
The paper must be attached to one side of the block so it aligns correctly at each step; it opens like a book between prints to allow for drying.
13: Relief printing techniques: drying your prints
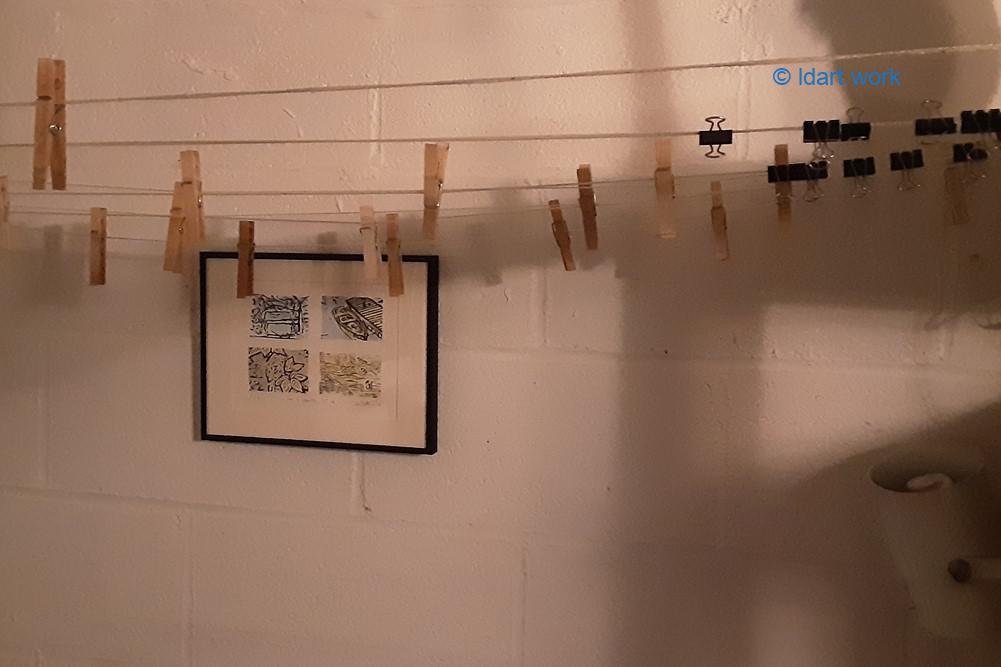
Once printed, let your prints dry at least 15 days, put flat on a drying rack or hanging on a wire and held with clothespins.
This will ensure that you can rework them in watercolor without too much risk of diluting the ink if you go fast and have used ink with water.
This will also allow you to store them in portfolios without them sticking to each other after a while.
14: Relief printing techniques: numbering your edition
Before storing your prints, you still have to number them and give them a title.
Because you have done a lot of work by hand to get them, each one is different from the others. In addition, each new print is generally darker than the previous one or shows more lines because the block has received more ink.
To recognize this unique feature of printmaking, each print is numbered and considered an original.
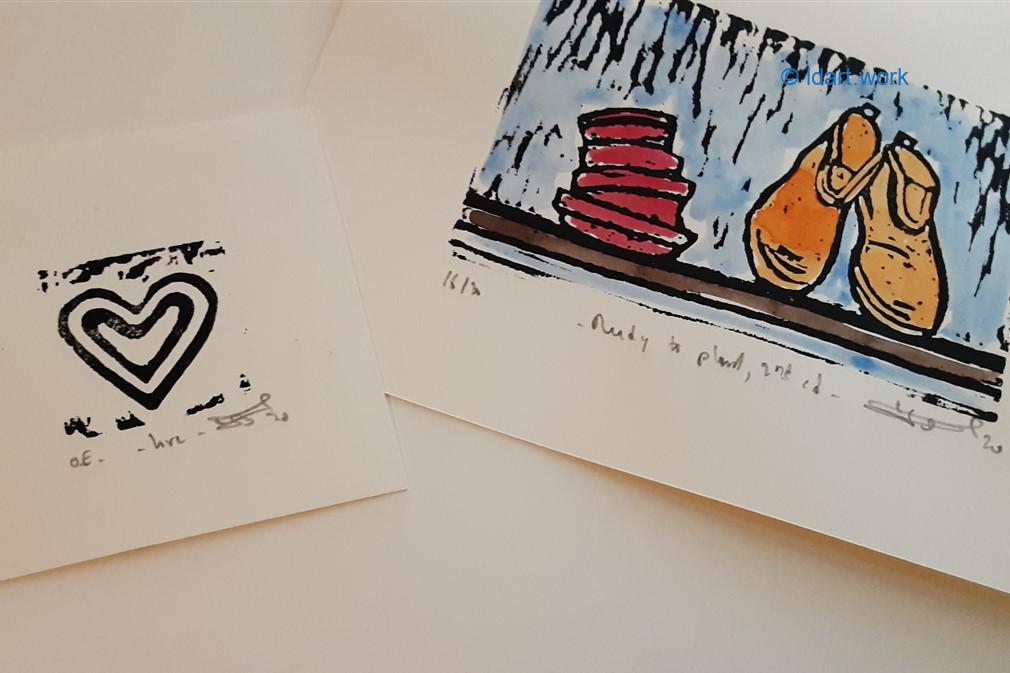
The first number represents the place of the print in the edition, the second number the total number of prints of the edition: thus, 16/20 will indicate that it is the print number 16 out of a total of 20.
You are supposed to destroy your block once all the prints are done to guarantee buyers that there will be no other editions. For that, you make a print of this destroyed block – usually scratched from one corner to another – to prove that you will not be able to use it anymore.
In practice, I do not know any printmaker who does it because it also means destroying your work; most, I suppose, keep this block and if the first edition is sold out or if they have a new idea to use this block, they modify the image and make a second edition; it will also be an original since the image is not the same anymore.
That’s what I do sometimes, and I change the title of the print. Otherwise, if you make a second identical edition, indicate under the print that it is a 2nd edition.
On top of these numbered copies, 10% of the total edition can be printed and named E.A. (Exemplaire d’Artistes in French, or Artist Copy). It gives them more value as there are just a few of them.
The first prints you did to see how was your cutting can be kept and named EE (Exemplaire d’essai in French, or Sample Copy), but I generally do not keep them because they are not what I wanted, and the paper on which I printed them is of poor quality.
When I make an unnumbered edition, all the prints are named OE (Open Edition).
All prints must be signed, dated with the year, and usually titled.
There are different ways to put all this information below the image and none is better than another; it is mainly a question of aesthetics.
However, signature and numbers are always written with a pencil.
15: Relief printing techniques: links and Resources
A few useful links to end this chapter about relief printing:
- The Art Department Directory lists many sites dedicated to printmaking and relief printing.
- Polymetaal has everything you need to be a printmaker, with pages in English and a list of retailers in different countries.
- The Art List has art contests, competitions and opportunities for visual artists.
- Posts: I regularly write about my experience as a printmaker and the posts are on the blog of this site if you want to read some of them (the others are newsletters for my buyers where I mention the prints I made).
Questions about these techniques? Send me a note at [email protected].